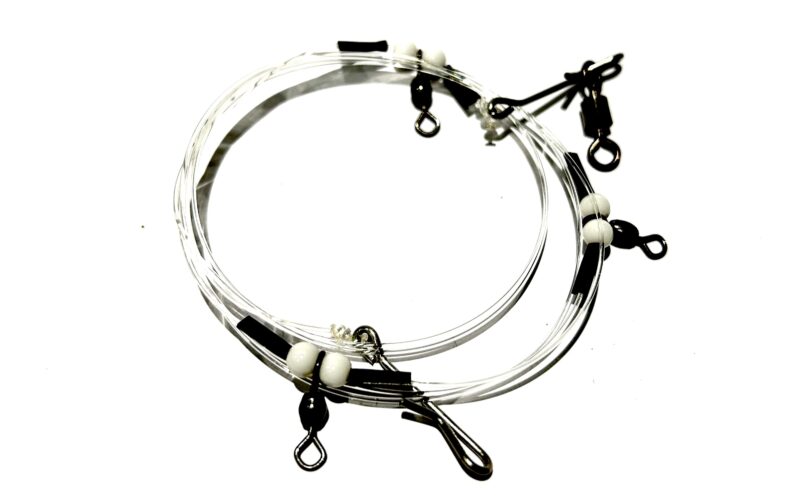
A flapper rig is a versatile and effective setup for sea fishing, designed to target a wide range of species. It features one or more hooks attached to short, rotating snoods (or traces) that “flap” freely in the water, hence the name. The movement of the snoods allows the bait to present naturally, making it especially appealing to fish like cod, bass, and flatfish. Whether you’re fishing from the beach, pier, or boat, the flapper rig offers great flexibility, allowing you to cover more water and increase your chances of a bite.
Rig Uses
The name “flapper” originates from the way the rig moves in the water, imitating the movement of swimming fish. This setup is particularly effective for catching bottom-feeding fish like cod, plaice, or flatfish. The rig’s design allows for the presentation of multiple baits simultaneously, increasing the likelihood of attracting fish in the vicinity. It is a popular choice among shore and boat anglers due to its versatility and efficiency.
Components
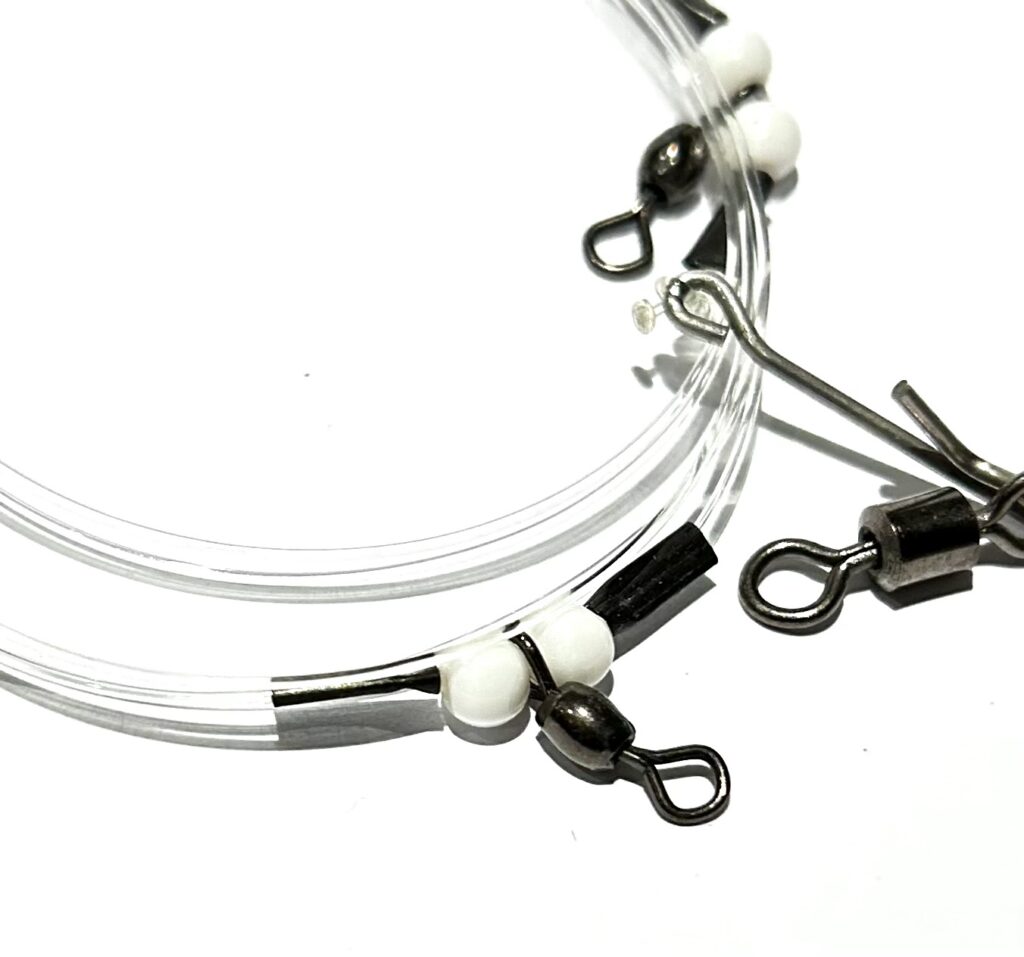
Making a flapper rig body is quite simple and only requires six components to construct one. 50lb monofilament for the rig body, beads, size 2 swivels, and crimps to make the flapper anchors, a size 1/0 swivel as your connection point to your shock leader and a quick link to attach your weight.
instructions
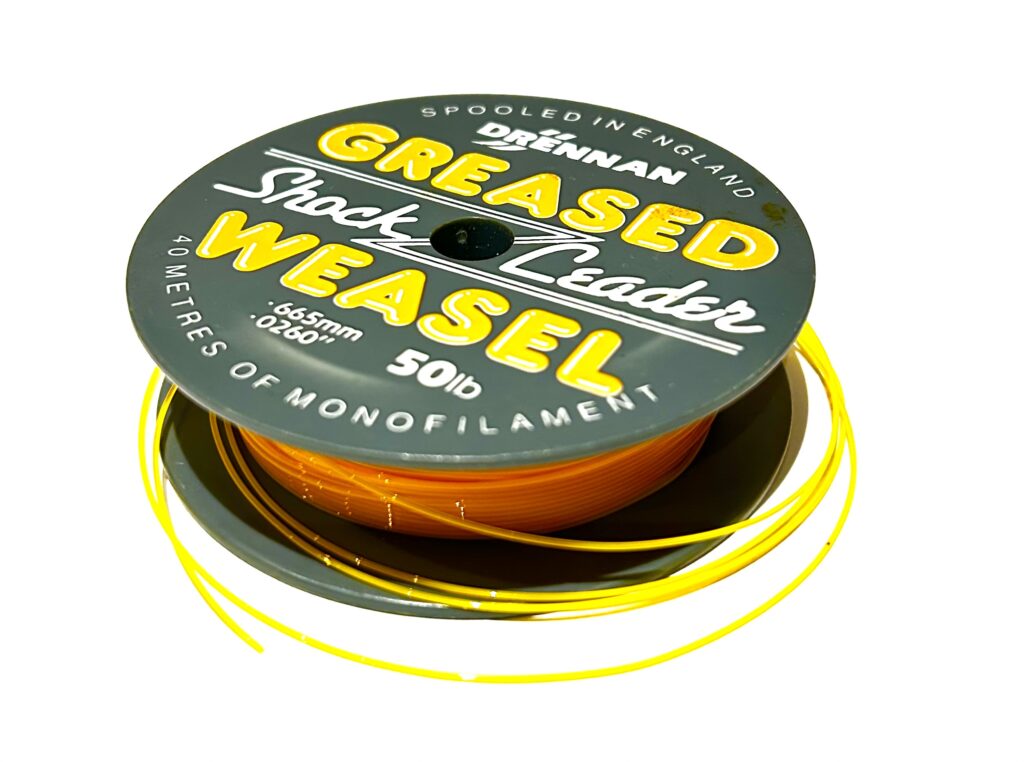
I am going to talk through the construction of a flapper rig for fishing from the shore or the pier. Firstly cut yourself a approximately 1.5m of 50lb monofilament. I use a variety of lines but prefer Penn Tuff Stuff or Drennan’s Greased Weasel. To be honest any 50lb line will do.
Step 1
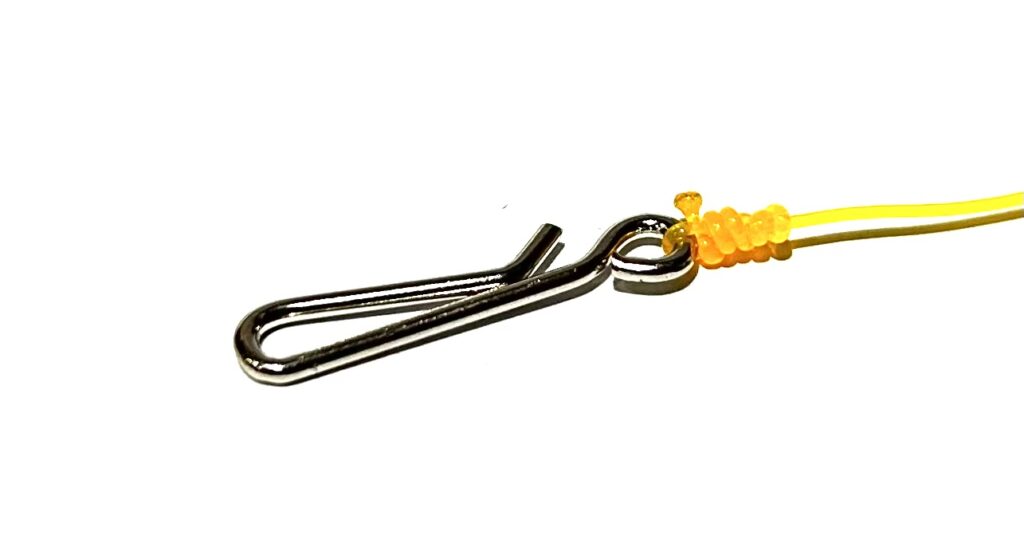
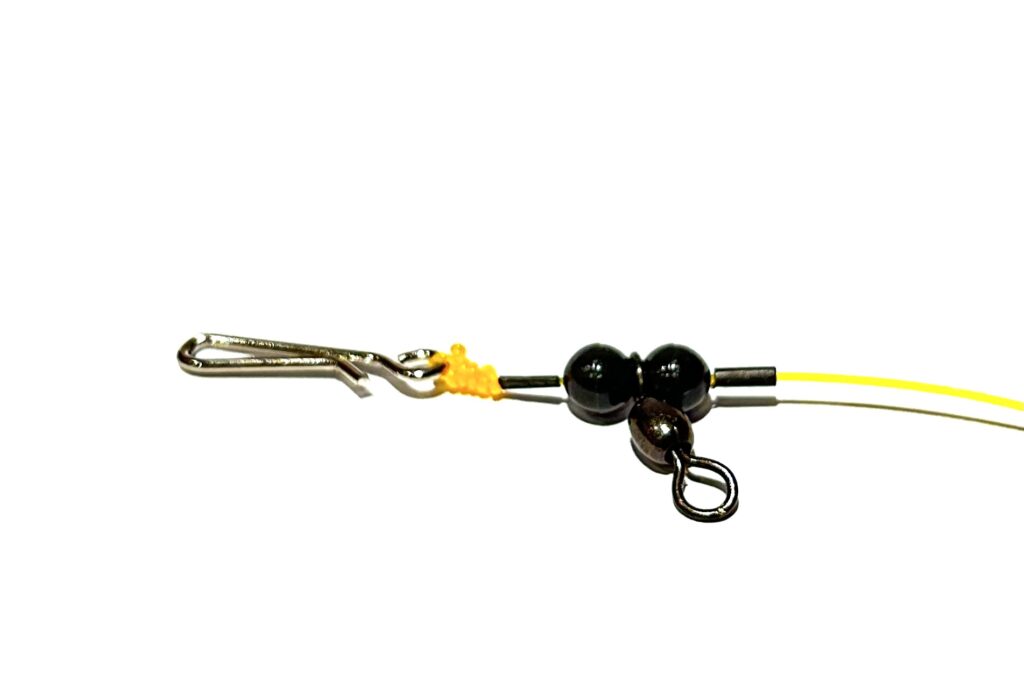
Tie on your quick change link with a blood knot. I trim the excess back to around three millimetres and carefully melt the tag end until a small blob if formed. The blob is there as a back up should for some strange reason the knot wasn’t quite tied tightly.
Step 2
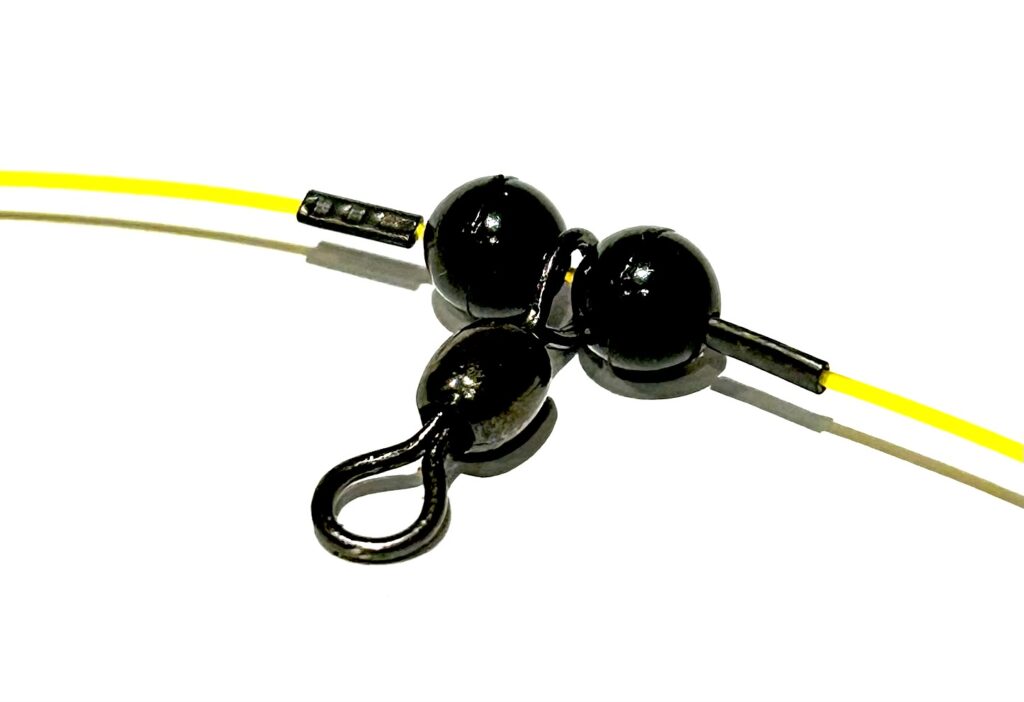
Next slide a crimp followed by a bead then a swivel, another bead an a crimp and slide them until they touch the know of the quick change clip. Then crimp your swivel and beads in place as shown below.
Step 3
Then repeat the same procedure to add the second flapper point approximately 30 – 40cm down the line. To make a three hook flapper add one more connector point the same distance again.
step 4
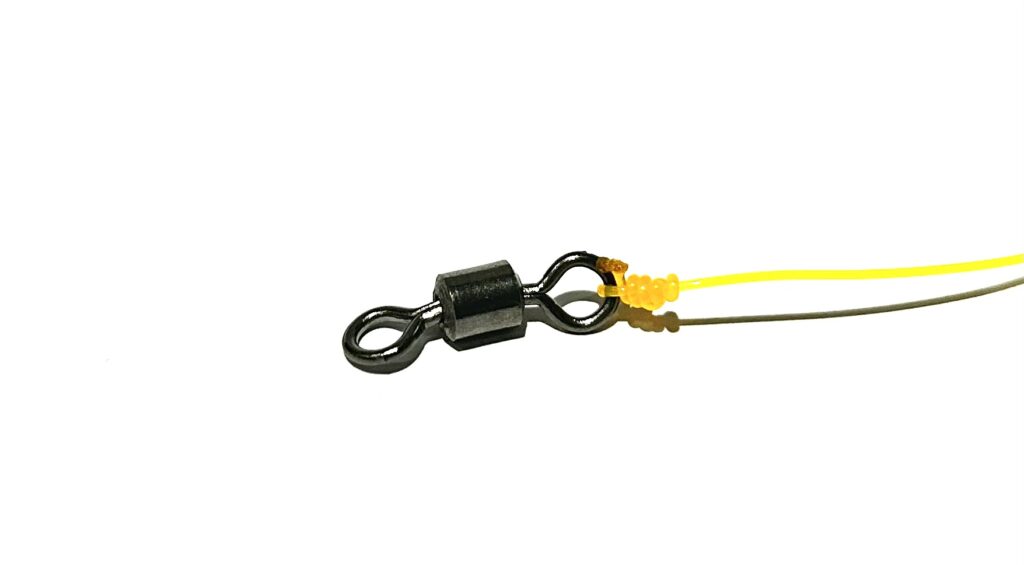
Measure approximately 16 inches from you last flapper connector and tie your size 1 swivel using a blood knot. Once again I would recommend to melt the tag end into a blob for safety.
Hook traces
The final step is to attach your hook traces. I trust a half or full blood knot to attach my traces. In 40 years of fishing I have never had a hook part with the line with this knot.
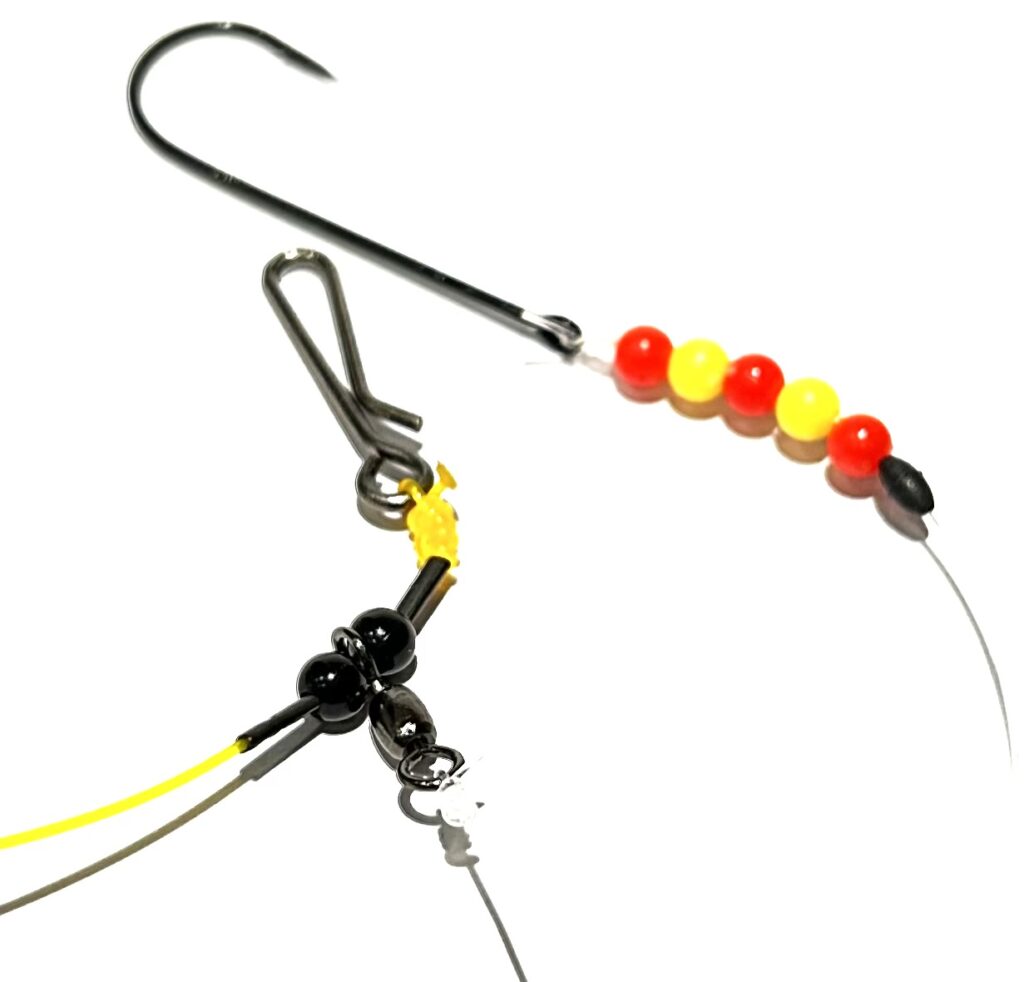
If it dabs then adjust your traces to smaller hooks and a lighter 15lb trace line. If its whiting, dogfish and codling then a larger size 20lb line and a 1/0 or 2/0 may fit the bill. The world is your oyster when it comes to deciding how you want to fish your rig.
Happy fishing and tight lines!

